
How to Paint a Dutch Tool Chest With Real Milk Paint®
A Dutch tool chest is built to work. Its angled lid sheds dust, its compact interior keeps hand tools close, and its portable design makes it easy to move around the shop. That also means it will be carried, opened, bumped, and handled often. Its finish should be equally practical.
Real Milk Paint® gives a Dutch tool chest traditional color without burying the wood beneath a thick, plastic-looking film. Made with milk protein, lime, and natural pigments, it contains no VOCs. On raw, porous wood, it bonds directly to the surface, leaving a matte finish with visible texture and character. When worn corners eventually appear, the paint is easy to touch up.
This guide covers the full process, from choosing a color and preparing the wood to mixing the paint and protecting it with wax. Still comparing your options? Our guide to the best finish for a Dutch tool chest explains when to choose milk paint, wax, or tung oil for the project.
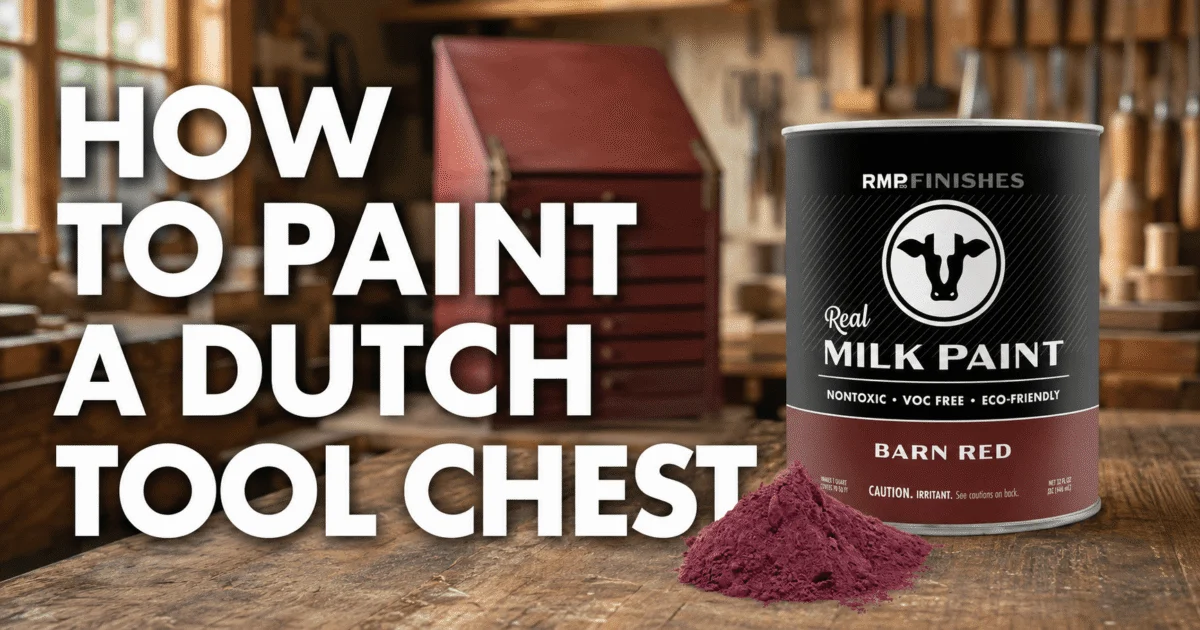
Why Use Real Milk Paint on a Dutch Tool Chest?
Milk paint suits a working tool chest because it looks traditional, wears gracefully, and does not hide the straightforward construction that makes this style useful.
Real Milk Paint:
- Adheres readily to unfinished, porous wood
- Dries to a matte, traditional-looking finish
- Allows brush marks and wood texture to remain visible
- Can be layered or distressed
- Is easy to spot-repair after chips and scratches
- Can be waxed for a smoother, hand-rubbed feel
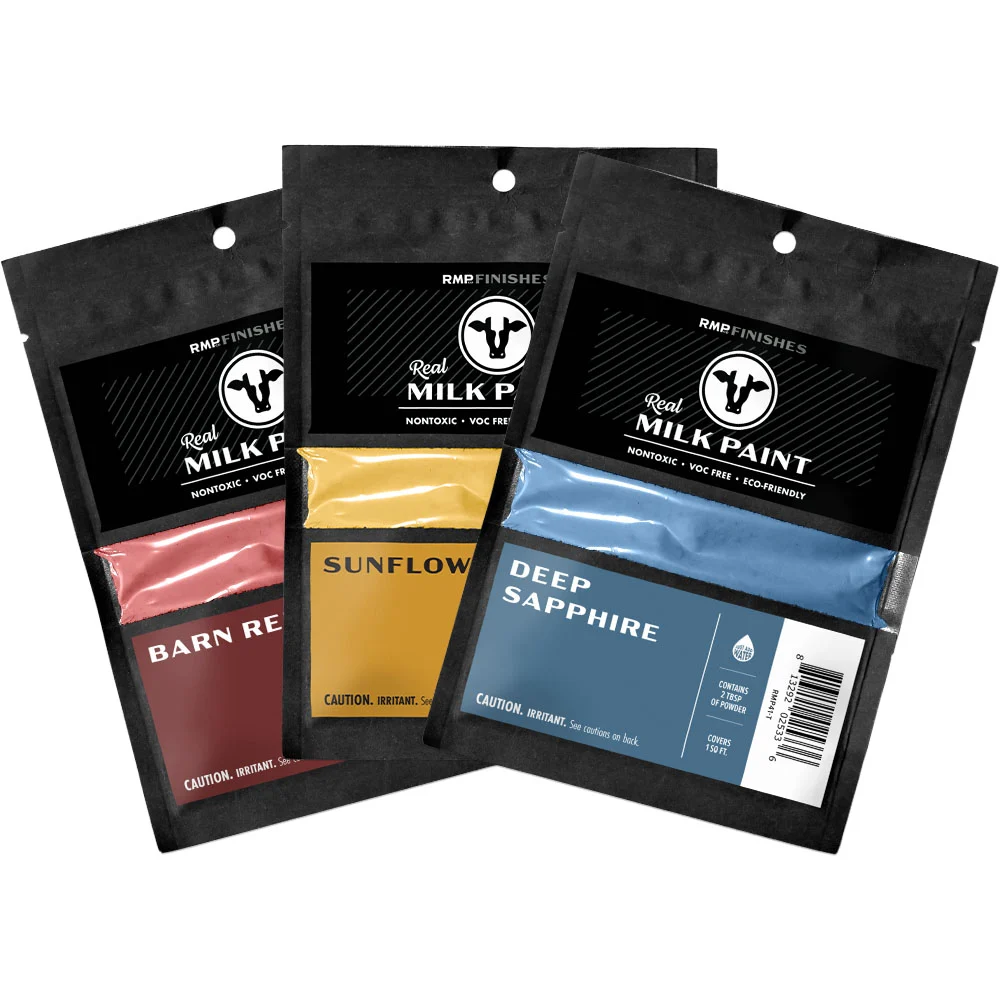
Deep blue is a classic choice, but black, green, barn red, and other muted shades suit the design just as well. Browse the full range of Real Milk Paint colors to find one that belongs in your workshop.
Supplies You Will Need
Gather these materials before you begin:
- Real Milk Paint® in your chosen color
- Clean water and two measuring containers
- A mixing cup or jar
- A stir stick, whisk, or small paint mixer
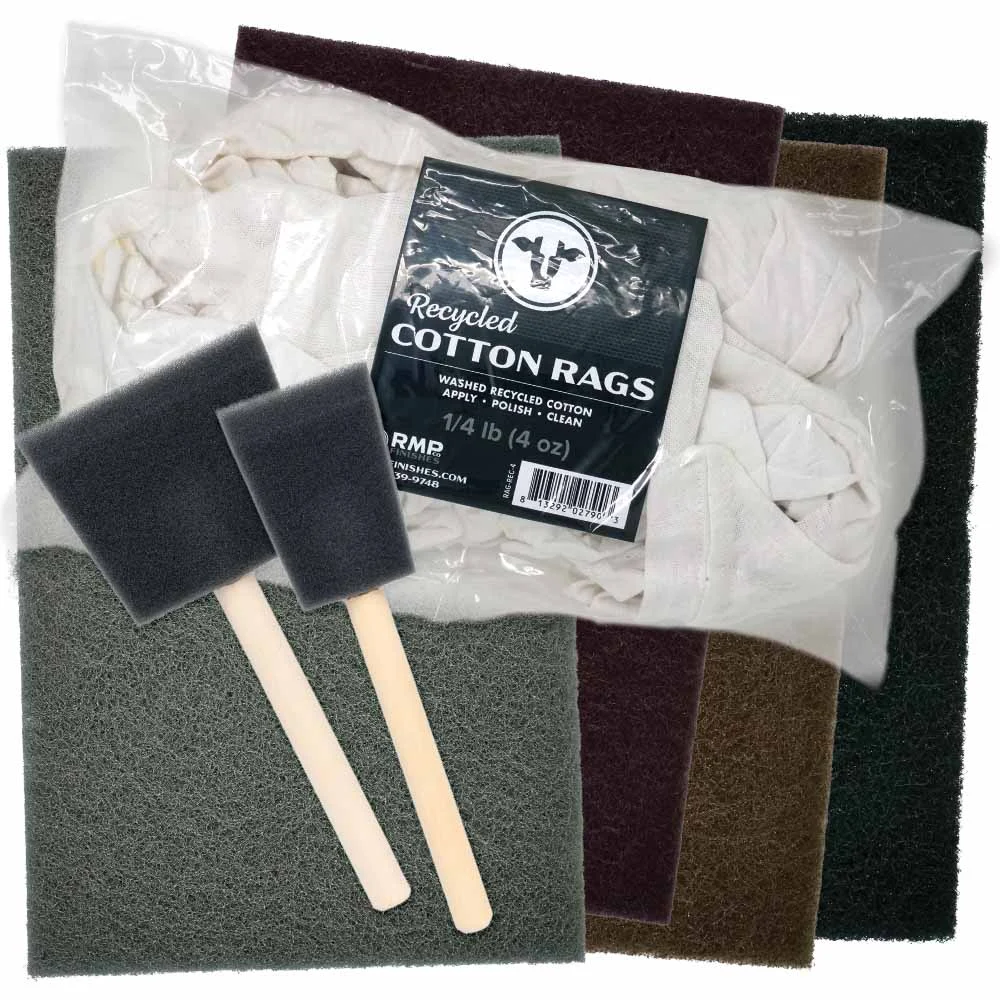
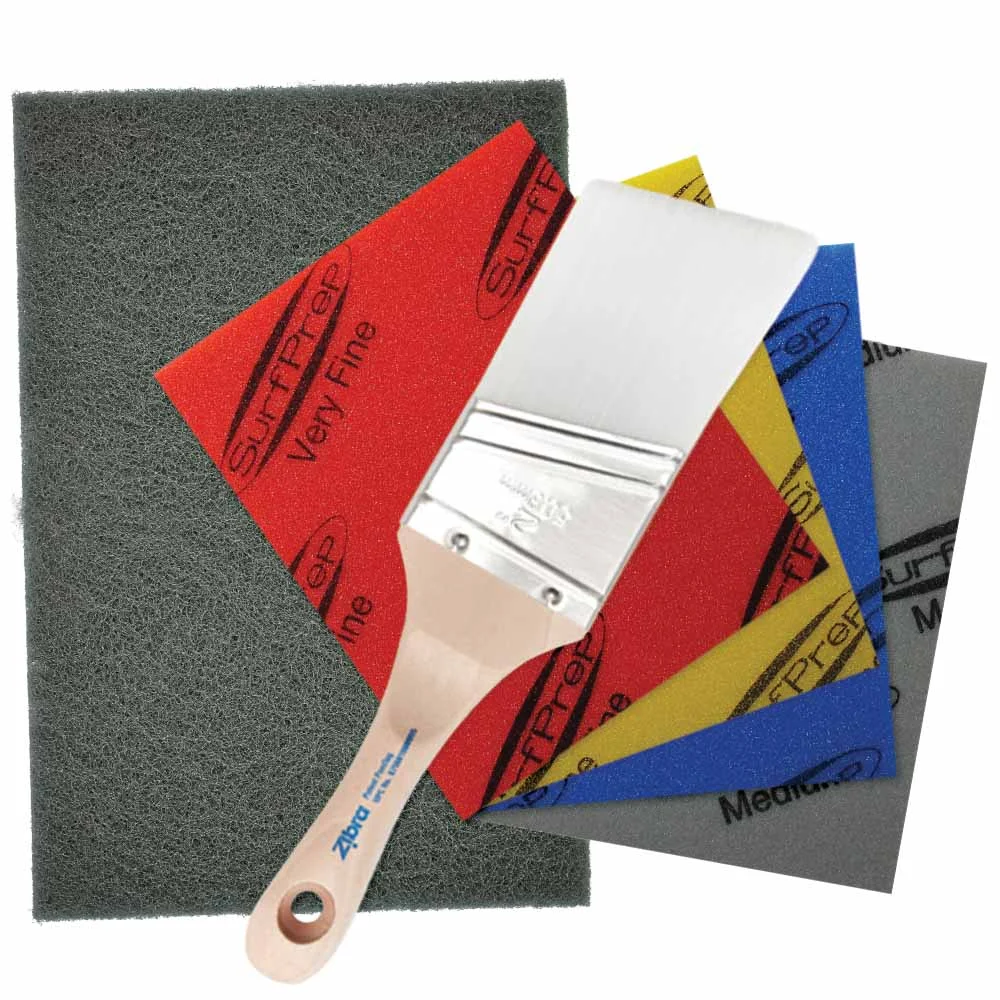
- A natural-bristle, foam, or quality furniture brush
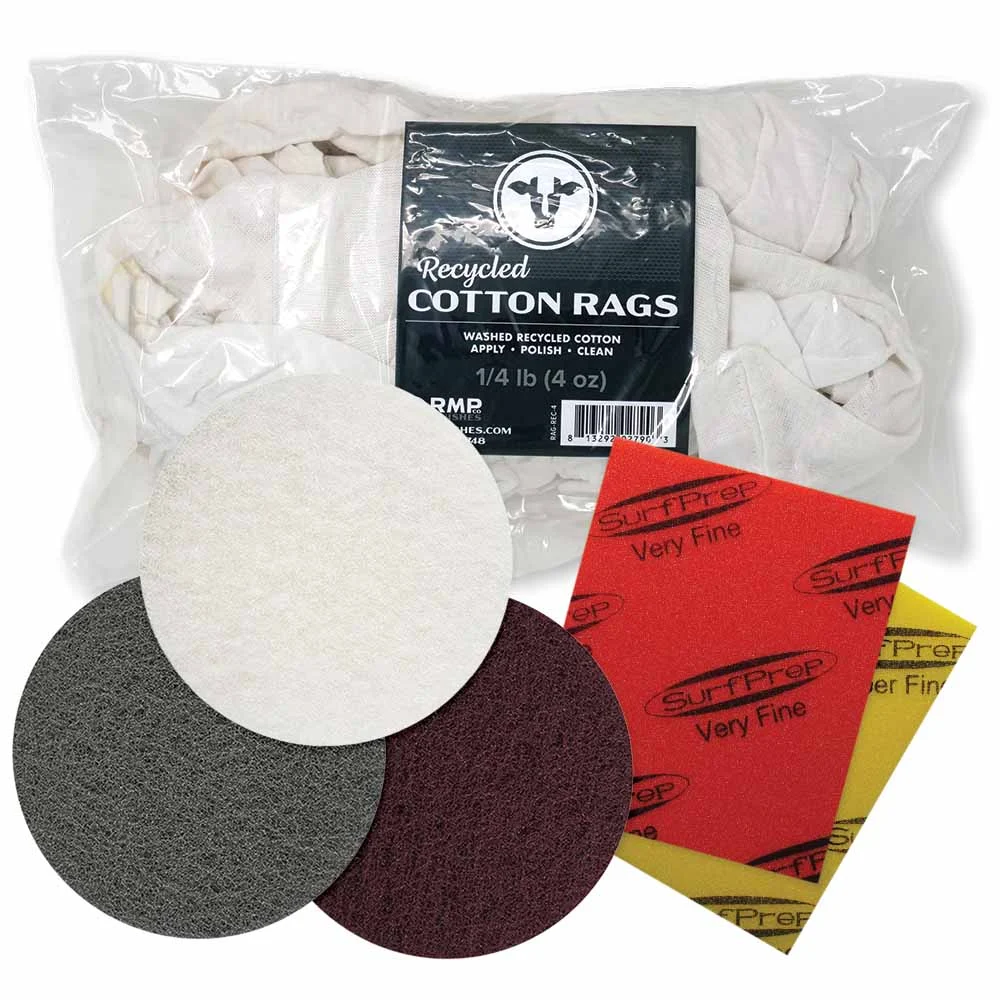
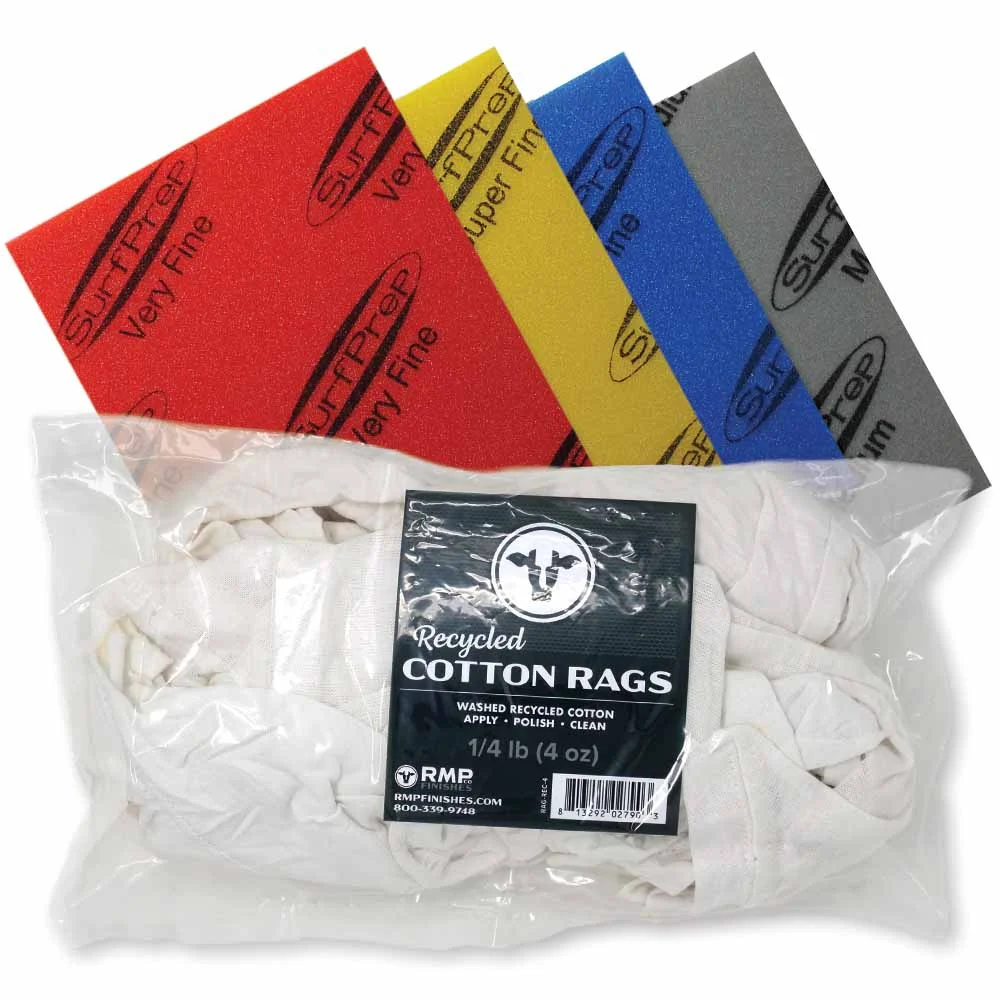
- Fine-grit sandpaper or a sanding pad
- Clean, lint-free cloths
- A drop cloth and painter’s tape
- Ultra Bond Adhesion Promoter for sealed or previously finished surfaces
- RMP Finishes Paste Wax for the final protective layer
A smaller brush helps with corners, battens, moldings, and hinges. Explore RMP Finishes’ paint brushes for more options.
Step 1: Choose Your Color and Decide What to Paint
The simple shape of a Dutch tool chest leaves plenty of room for personalization. Deep blues and greens create a classic workshop look, while black, dark gray, and barn red add stronger contrast.
Milk paint often dries lighter than it appears while wet. Wood species, sanding, grain direction, and the number of coats can also affect the color. Test your choice on a project offcut before mixing enough for the full chest.
For a custom color, combine the dry powders before adding water. Record the proportions so you can recreate the shade for future touch-ups.
You also do not have to paint every surface. Many woodworkers paint the exterior and leave the interior natural, which keeps the compartments lighter and makes small tools easier to see.
Other options include:
- Painting the entire chest one color
- Using a lighter color inside
- Leaving tills and tool racks natural
- Applying a thin milk paint wash inside
For a translucent wash, start with approximately two parts water to one part milk paint powder.
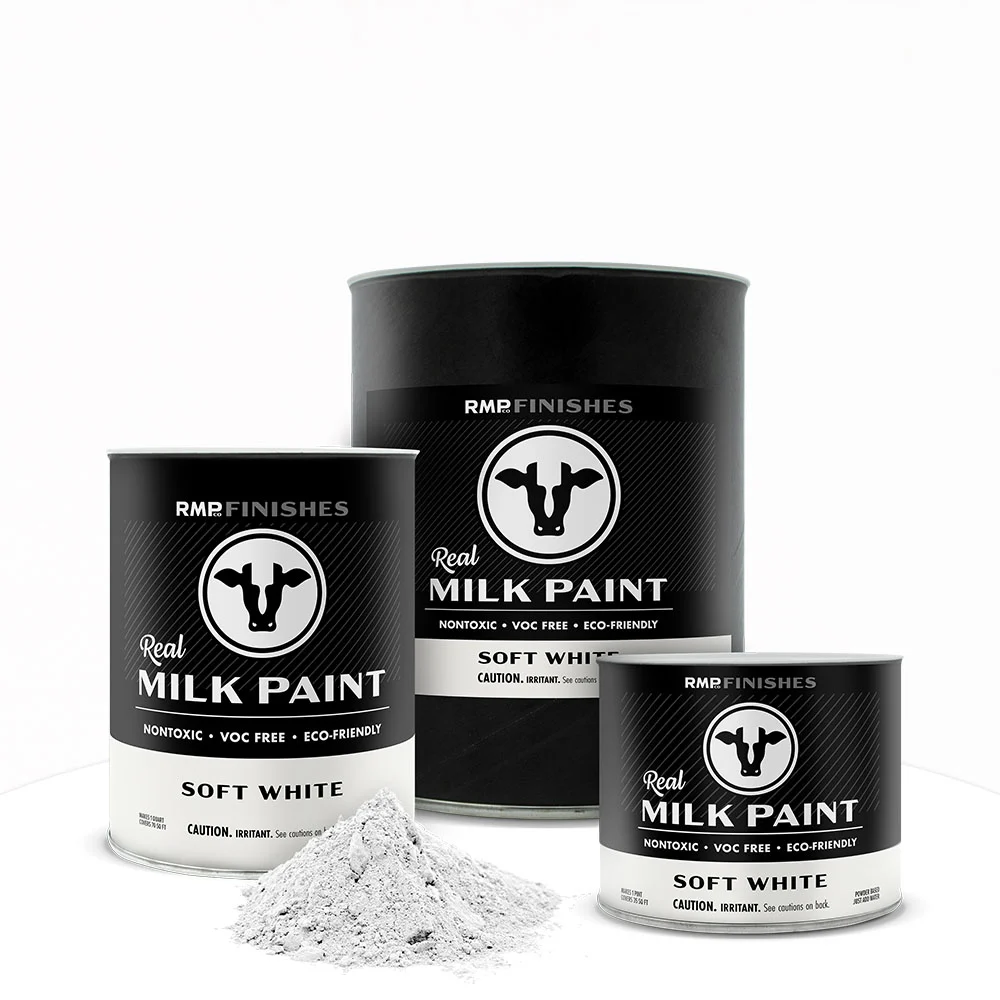
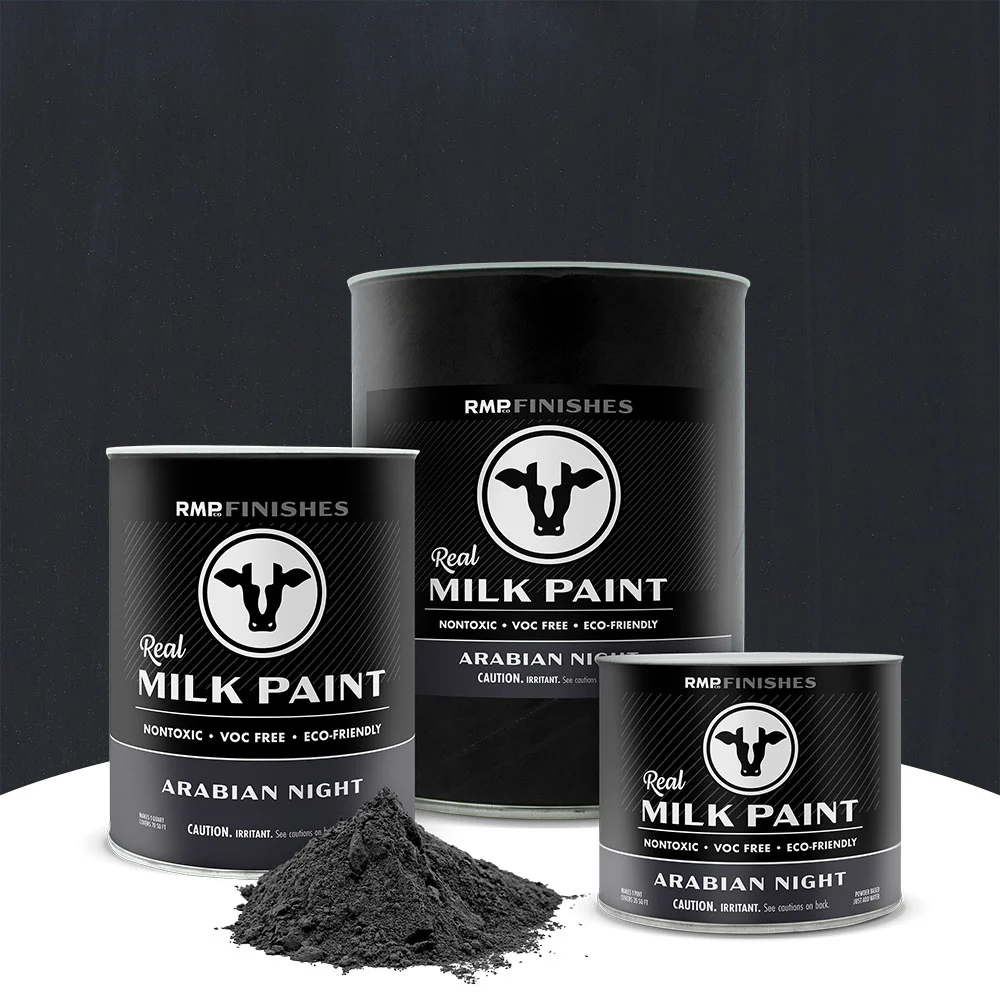
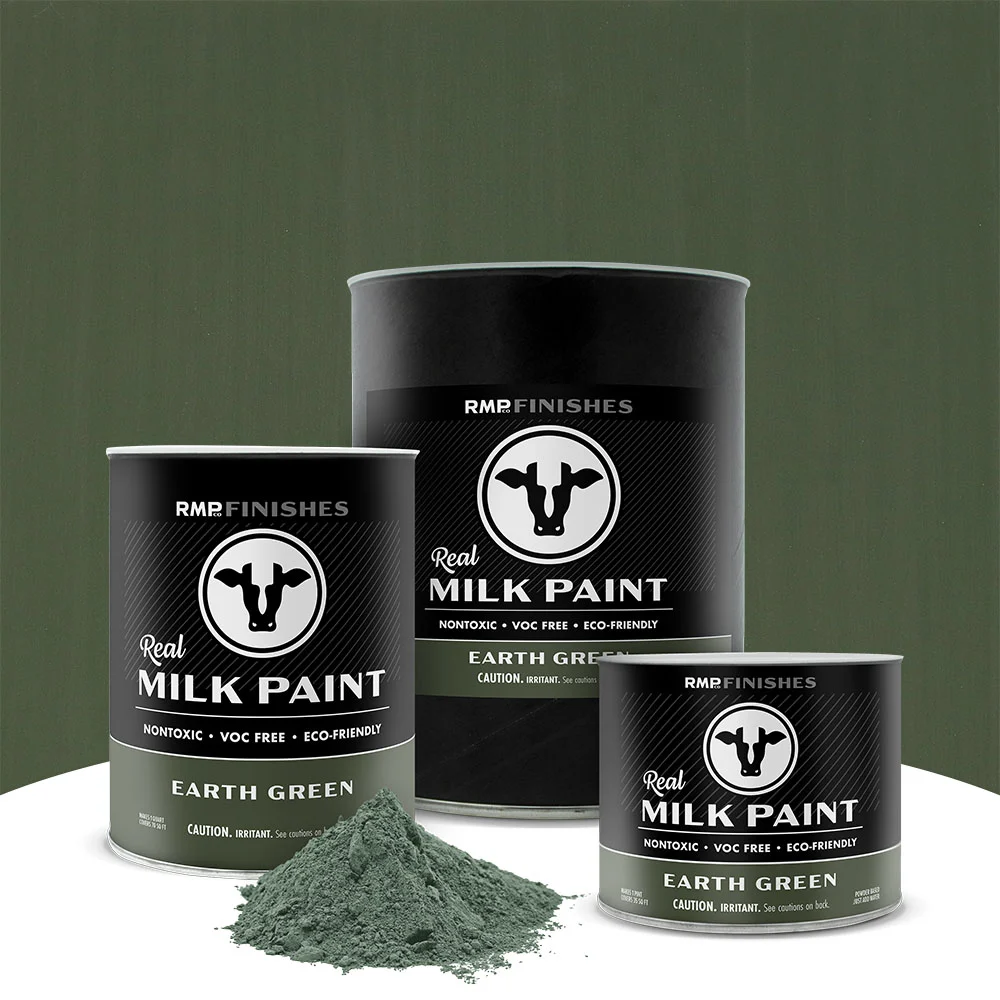
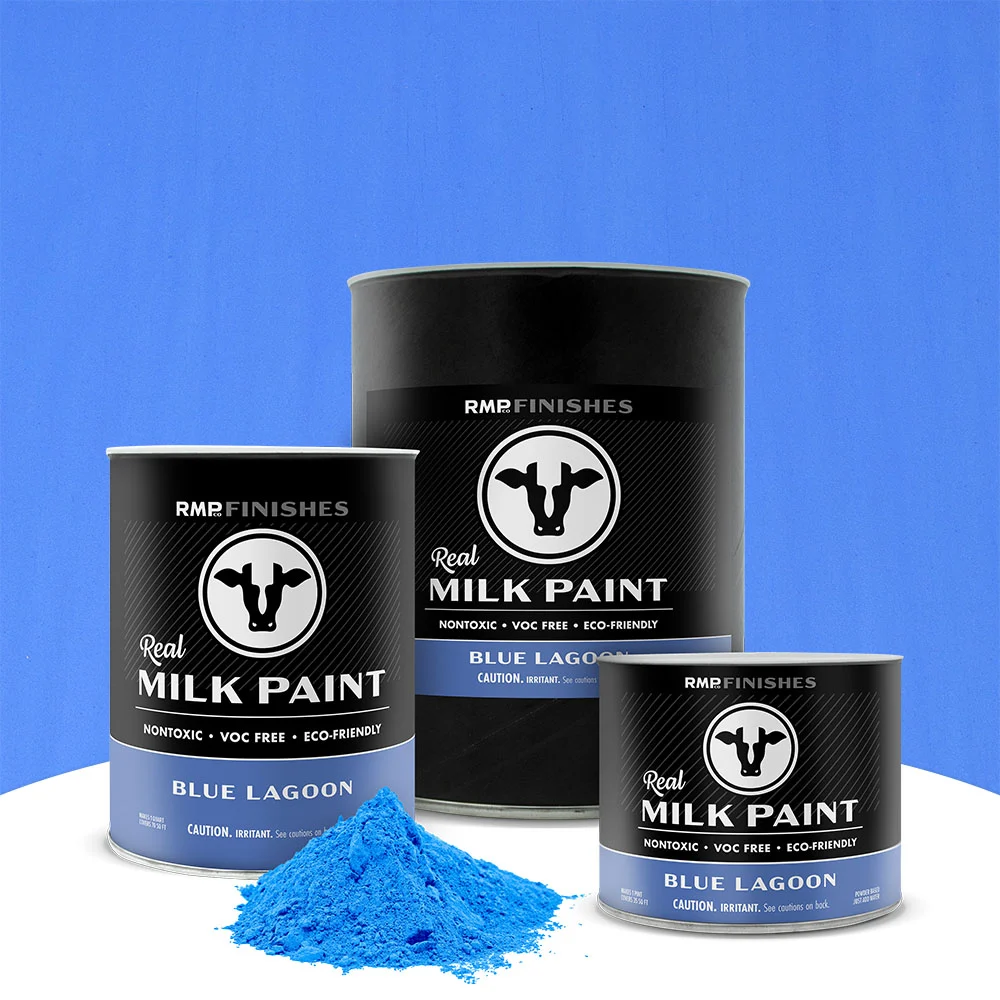
Customer Milk Paint Favorites
Step 2: Remove or Protect the Hardware
Remove hinges, handles, screws, and chest lifts whenever possible. You will get cleaner edges and avoid paint buildup around moving parts.
Label the hardware or keep each set together so everything returns to its original position. Protect anything that cannot be removed with painter’s tape.
Check that the lid opens and closes correctly before painting. Adjust hinges, trim rubbing edges, and fix tight-fitting panels now, while repairs are still easy.
Step 3: Prepare the Wood
A newly built chest made from unfinished pine or another porous wood usually needs only light preparation. Sand rough areas, soften sharp corners if desired, and remove pencil marks, dirt, glue residue, and sanding dust.
Pay close attention to dried glue around joints. Glue-covered areas do not absorb milk paint as readily as raw wood and may appear lighter after the paint dries.
Wipe the chest clean and let damp areas dry completely. Avoid polishing raw wood until it feels glassy. A lightly sanded surface gives the paint texture to grip while preserving the wood’s character.
For a previously sealed, painted, or glossy chest, clean the surface thoroughly and scuff-sand it. Test a small area first. Add Ultra Bond to the first coat according to the product directions when extra adhesion is needed on a nonporous or unknown finish.
Step 4: Mix the Real Milk Paint
Start with equal parts water and Real Milk Paint® powder by volume. Add the water first, then gradually stir in the powder. The mixture should reach a creamy consistency similar to pancake batter.
Let it rest for about 20 minutes so the natural ingredients absorb the water and combine. Stir again before painting and periodically during application because natural pigments may settle.
If the paint feels too thick or leaves heavy ridges, add water a little at a time. Mix only what you expect to use. For more guidance, see How to Use Real Milk Paint.
Step 5: Apply the First Thin Coat
Position the chest on its back or upside down so you can reach the underside, feet, battens, and lower edges. Work in manageable sections and follow the grain of the wood when possible.
A natural-bristle brush leaves subtle texture that suits a traditional chest. For a smoother appearance, use a foam brush or lightly tip off the surface with long, even strokes.
The first coat may look uneven, especially on softwood with different grain densities. That is normal. Do not force complete coverage with one heavy layer. Thin coats dry more evenly and give you better control.
Allow the first coat to dry for one to two hours. Cool or humid conditions may require more time.
Step 6: Smooth the Surface and Add a Second Coat
Once the first coat is dry, lightly sand raised grain, rough pigment, or obvious brush ridges with a fine sanding pad. Use a light hand unless you want the wood to show through.
Remove the dust, stir the paint, and apply another thin coat. Add a small amount of water if the paint needs to flow more smoothly.
Two coats are often enough for medium and dark colors. Lighter shades or highly absorbent boards may require extra attention to ensure even coverage. Inspect the chest in good lighting and follow the product directions rather than loading problem areas with thick paint.
Step 7: Add Optional Wear or Layering
A Dutch tool chest will develop honest wear over time, so distressing is optional. Once the paint is dry, lightly sand areas that are likely to receive contact: corners, raised edges, battens, handles, and the front of the lid. Keep the wear selective so it does not look forced.
For more depth, apply one milk paint color as a base, let it dry, and add a contrasting color. Sand selected areas until the lower layer begins to show.
Step 8: Protect the Paint With Paste Wax
Milk paint can be left unfinished for a dry, completely matte surface. A working tool chest, however, usually benefits from a protective topcoat.
Paste Wax gives the paint a smoother feel, adds sheen, and helps reduce marks from fingerprints and everyday handling. Clear Paste Wax preserves the original color, while Brown Paste Wax adds warmth and a lightly aged appearance.
Make sure the paint is dry. Apply a very thin layer with a clean cloth, let it haze according to the product directions, and buff evenly. Avoid heavy buildup in corners or around hardware.
Wax will wear gradually, but renewal is simple: clean the surface, apply another thin coat, and buff. For detailed advice, read the complete guide to Paste Wax.
Give Your Tool Chest a Finish Built for Use
A Dutch tool chest should never feel too precious to carry into the shop. Scratches, worn corners, and small dents are signs that it is doing its job.
Real Milk Paint® creates a traditional, repairable finish that complements the chest’s practical design. With careful preparation, properly mixed paint, thin coats, and a light layer of Paste Wax, you can add rich color without hiding the character of the wood.
Explore Real Milk Paint colors, paint additives, and Paste Wax to build a finish that looks better with every project.