
Furniture Flipping: How to Save Your Thrifted Furniture With RMP Finishes
 Furniture flipping means repairing or updating secondhand furniture for continued use or resale. A successful project starts with a stable, repairable piece, careful preparation, and a finish compatible with the material. This guide explains how to evaluate thrifted furniture, choose between paint and a natural wood finish, gather essential supplies, and complete each step. Paint can transform a worn piece, but it cannot correct loose joints, active moisture, pests, or failing veneer.
Is This Thrifted Piece Worth Saving?
Before investing time and materials into a thrifted find, you need to confirm it is structurally sound and realistically repairable. Run through this quick checklist before you buy.
- Structure and function: Make sure the piece stands securely. Check that drawers glide, doors align, and legs are sturdy. Broken hardware is an easy fix, but a warped or wobbly frame is a major headache.
- Base material: Solid wood, veneer, laminate, and particleboard all respond differently to stripping, sanding, and absorbing paint or penetrating oils. Solid wood is generally the most forgiving to work with.
- Scope of repairs: Surface scratches, minor chips, and small veneer patches are highly manageable. However, major structural failures might exceed your budget or skill level.
- Red flags to avoid: Leave the piece behind if you spot active moisture, mold, signs of insects, lingering odors, severe instability, or heavily upholstered pieces with hidden interior damage.
- Resale potential: If you are flipping for profit, consider the piece’s style, local market demand, and your planned finish. Always compare your estimated selling price against the cost of materials, labor, and transport.
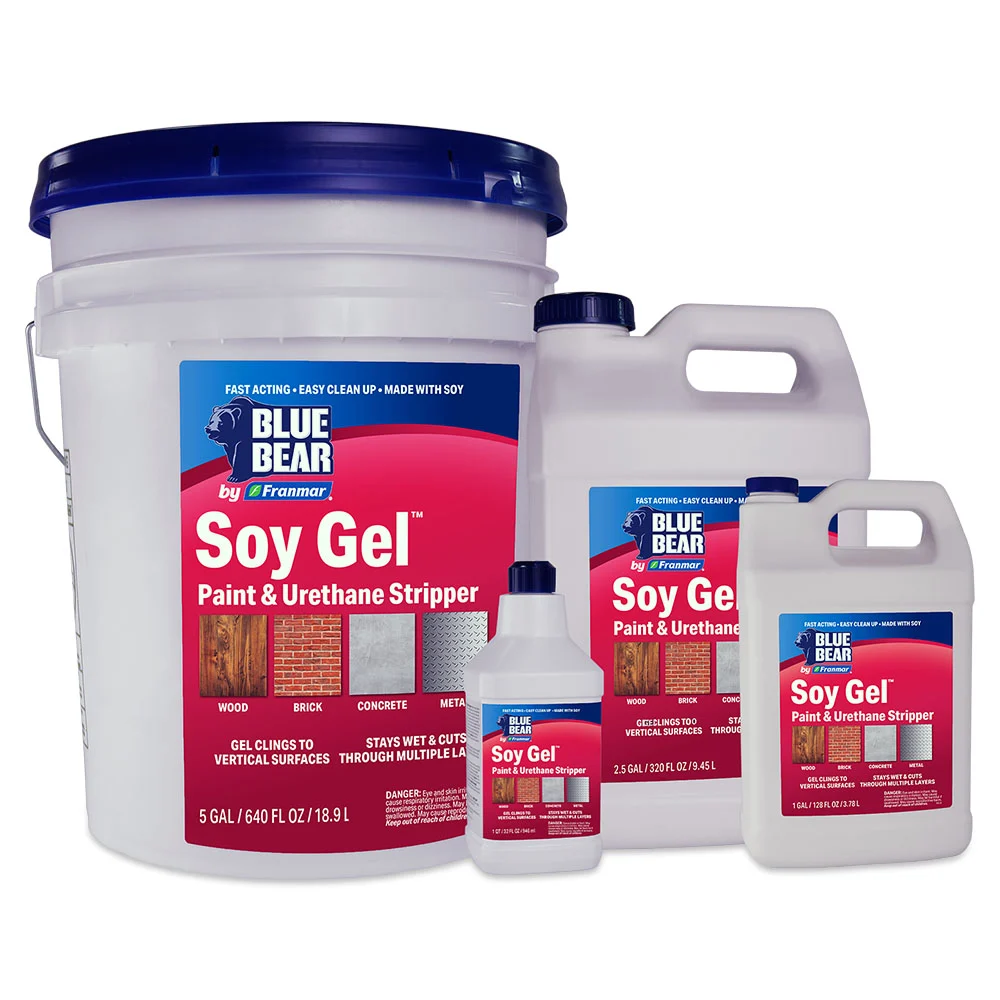
Soy-Gel Professional Paint Remover
A Note on Safety and Vintage Furniture: If you plan to resell, review applicable recalls and requirements. The U.S. Consumer Product Safety Commission warns that furniture made before 1978 is more likely to contain lead paint hazards. For suspected lead-based paint, Soy Gel can help remove the coating while keeping the softened paint contained in the gel, reducing the risk of creating lead-contaminated dust compared with dry sanding. Treat unknown vintage coatings with extreme caution, and always consult official safety guidance before sanding or disturbing the surface.
Where to Find Furniture Worth Flipping
Look at thrift stores, estate and yard sales, reuse centers, curbside listings, and Facebook Marketplace. For free furniture, check neighborhood curbs, moving-day listings, and local giveaway groups. Before traveling, request measurements and photos of the back, underside, drawers, hardware, and damaged areas. Confirm that the piece will fit your vehicle and workspace.
For an early project, prioritize a stable table, nightstand, desk, coffee table, or dresser with straightforward construction. Solid wood is often easier to refinish, but condition matters more than category. Set a maximum budget that includes the purchase, supplies, hardware, transport, selling fees, and unexpected repairs. Avoid fabric-covered items, which may conceal odors, pests, or internal damage.
Should You Restore the Solid Wood or Paint the Piece?
Restore visible wood when the piece has attractive, repairable grain or veneer that can be exposed evenly. A penetrating oil can preserve the grain on bare, absorbent wood. If the existing finish is stable and still suits the piece, careful cleaning and a compatible refresh may be enough.
Choose paint when color is the goal or repaired areas would remain obvious under a clear finish. Neutral colors often have broad resale appeal, while a two-tone design can preserve attractive drawer fronts or legs. Before changing a potentially valuable piece, review our guidance for refinishing antique furniture or consult a qualified appraiser.
For more design inspiration, explore these ways to upcycle wood furniture with color and updated hardware.
What Furniture Flipping Supplies and Power Tools Do You Need?
Gather supplies after inspecting the piece and choosing a finish path. This helps keep the cleaner, repairs, paint or oil, and topcoat within a compatible system.
A practical starter kit may include:
- Screwdrivers, pliers, a drill, and labeled bags for hardware
- Cleaner, rags, gloves, eye protection, and workspace coverings
- Wood glue, clamps, filler, and a putty knife
- Sandpaper or scuff pads appropriate for the surface
- Brushes, mixing containers, measuring tools, finish, and topcoat
Beginners do not need every specialty or power tool. Start with a manageable project, use proper safety equipment, and add tools only when the repair or finish requires them.
How to Flip Thrifted Furniture Step by Step
Use this sequence to prevent cosmetic work from hiding unresolved damage. Good preparation and compatible products matter more than owning every tool.
Clean and Disassemble the Furniture
Photograph the furniture before removing drawers, doors, knobs, pulls, or hinges. Label each part and keep its fasteners together for easier reassembly.
Clean before sanding because grease and grime can interfere with repairs and adhesion. EMERGE Cleaner & Degreaser removes grime, grease, and oils from washable hard surfaces. Follow the label, use required protective equipment, rinse as directed, and let the furniture dry completely.
Repair and Prepare the Surface
Secure loose joints, separated veneer, and unstable components before cosmetic work. Use the appropriate adhesive, clamps, or replacement fasteners. Real Wood Filler can correct compatible surface defects, but it cannot replace a structural repair.
Remove only the coating or damaged material required for your chosen finish. Soy-Gel Professional Paint Remover may be suitable for stripping an old coating, especially lead paint. Oxalic Acid Wood Bleach can address certain dark iron or water stains after the wood is bare. Follow each product’s directions, and never combine products unless you confirm compatibility.
Sand according to the material. Thin veneer can be sanded through quickly, while laminate and other nonporous surfaces require a different paint-preparation strategy. Use appropriate grits, remove the dust, and test the complete system in an inconspicuous area.
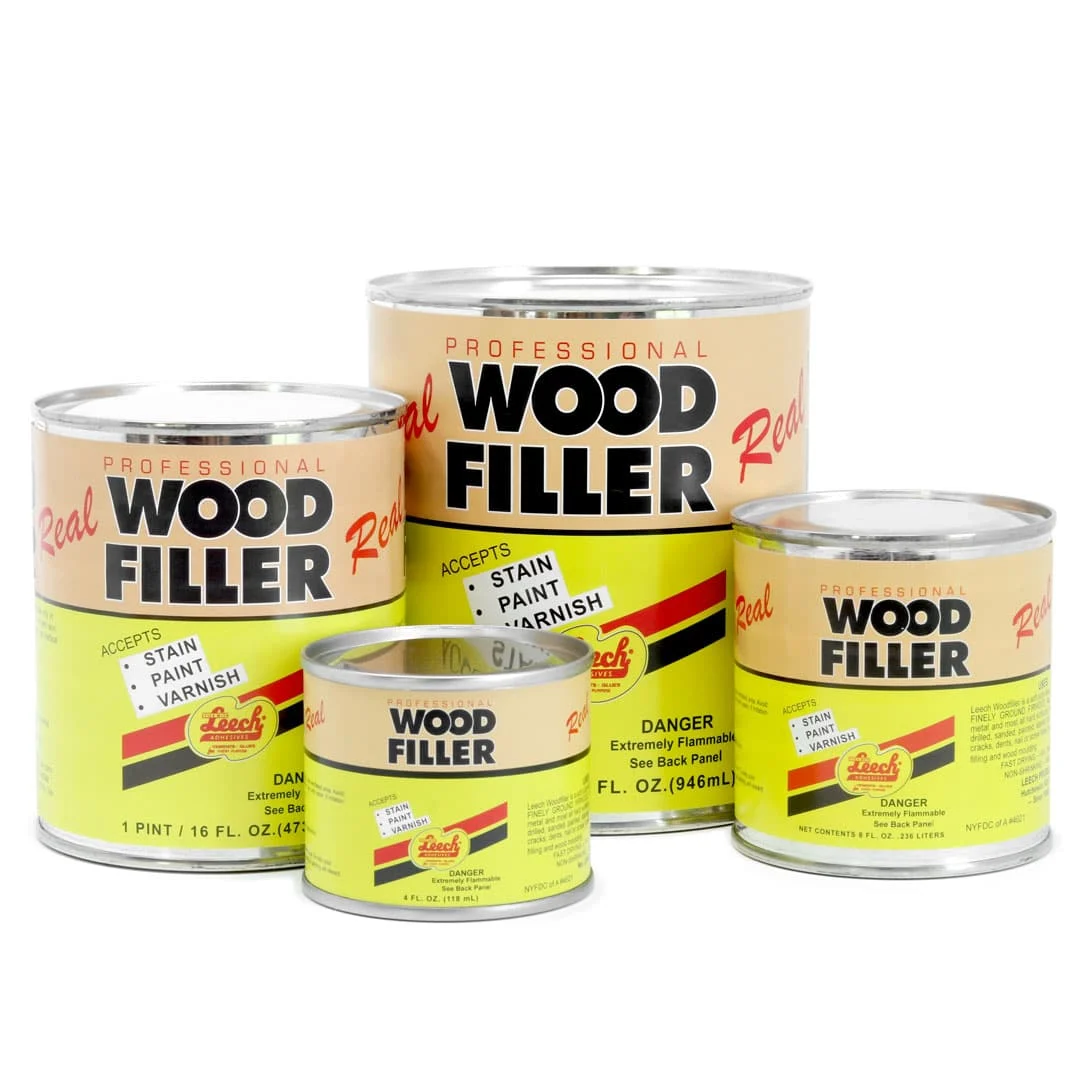
Real Wood Filler
Apply and Protect the New Finish
On raw, porous wood, mix Real Milk Paint powder with water according to current directions. RMP guidance calls for a 1-to-1 ratio, a 20-minute rest after mixing, and up to two coats. Because milk paint remains porous, complete painted furniture with a compatible topcoat after the recommended drying period.
Previously finished, glossy, or nonporous surfaces need more preparation. After cleaning and scuff-sanding, add Ultra Bond Adhesion Promoter to liquid Real Milk Paint at 1 part Ultra Bond to 4 parts paint. Test adhesion after the recommended drying period, then coat the full piece.
For bare, absorbent wood, Half & Half combines Pure Tung Oil with Citrus Solvent or Pine Oil. Pure Tung Oil may require thinning for absorption. Test the color, remove excess oil as directed, follow the oil-rag disposal instructions, and allow the finish to fully cure.
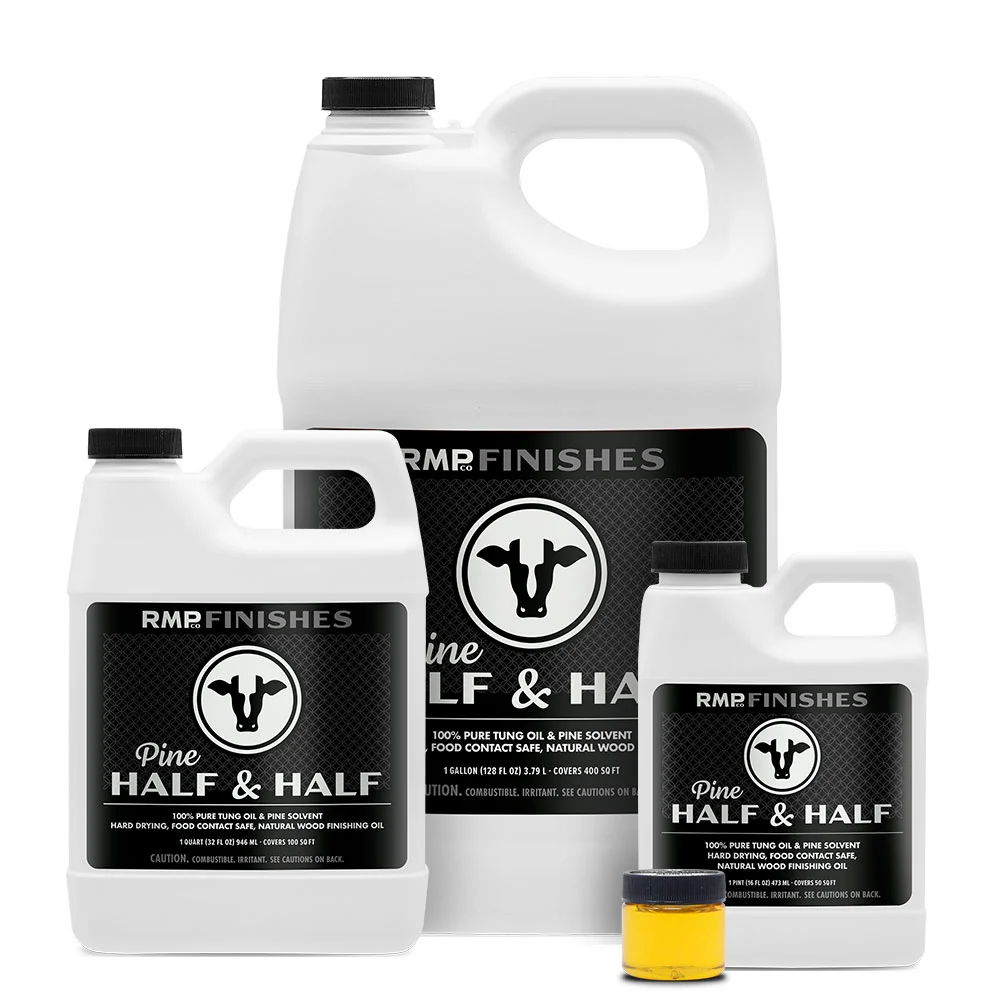
Half & Half
Inspect the Finished Piece Before Use or Resale
After the full cure period, reinstall the hardware and confirm that the piece stands securely and functions properly. Check drawers, doors, legs, repairs, and finished edges before use or sale.
For resale, provide accurate dimensions, well-lit photographs, honest repair information, and care guidance for the finish.
Match RMP Finishes Products to Your Furniture Flip
The best paint or finish suits the substrate, preparation, expected use, and desired appearance. Use this quick guide:
| Project need | RMP Finishes option | Best fit |
|---|---|---|
| Clean before repairs or finishing | EMERGE Cleaner & Degreaser | Washable hard surfaces with grime, grease, or oils |
| Add opaque color | Real Milk Paint | Raw, porous wood or other absorbent surfaces |
| Improve milk-paint adhesion | Real Milk Paint with Ultra Bond | Clean, scuff-sanded nonporous or previously finished surfaces |
| Preserve visible wood grain | Half & Half or Pure Tung Oil | Bare, absorbent wood prepared for a penetrating oil |
| Protect painted furniture | Furniture Wax or Finishing Cream | Furniture Wax provides a hand-buffed matte-to-low-satin finish; Finishing Cream provides a washable water-based topcoat in multiple sheens |
Check current directions for preparation, coverage, application, drying, curing, and maintenance. Products may behave differently over raw wood, an existing coating, or repair compound.
Common Furniture Flipping Mistakes to Avoid
- Choosing color before identifying the surface as raw, sealed, waxed, repaired, or nonporous
- Sanding before cleaning, which can spread oils, wax, and grime
- Painting over loose veneer, flaking coatings, weak joints, or other unstable material
- Skipping a test area that could reveal adhesion, color, absorption, or compatibility problems
- Rushing drying or curing because a finish feels dry to the touch
Record products, ratios, drying periods, and results so you can repeat a successful process.
For a real example, see The Furniture Dr’s damaged nightstand makeover, which shows how careful preparation and troubleshooting saved two damaged pieces.
Give Thrifted Furniture Another Chance
Furniture flipping becomes manageable when each decision is guided by the piece’s condition. Choose furniture you can repair, stabilize it before improving its appearance, and match each cleaner, filler, paint, oil, additive, and topcoat to the surface.
Ready to plan a thrifted furniture makeover? Explore Real Milk Paint colors, learn how to paint wood furniture with milk paint, or contact our team for product-selection help.