How to Finish Butcher Block Countertops with Tung Oil
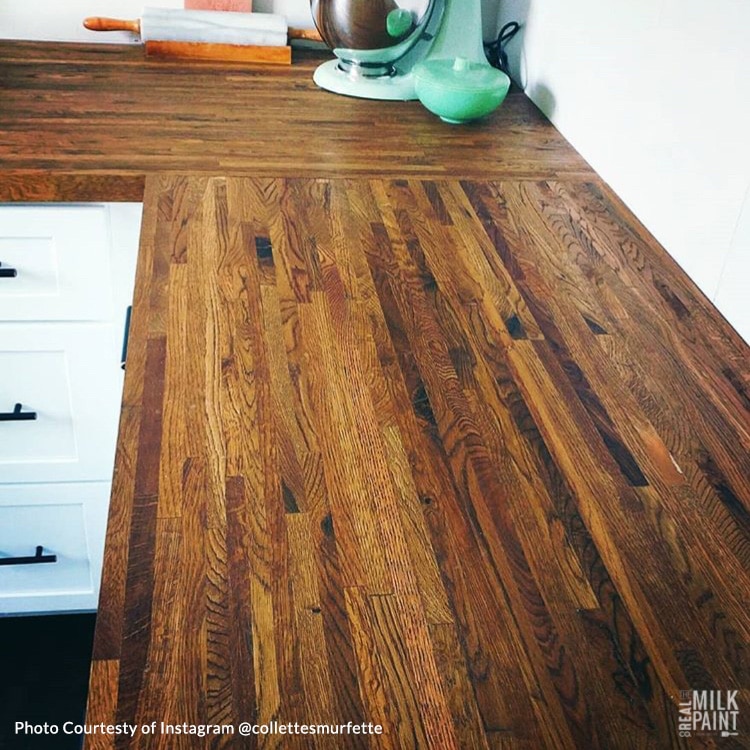 Butcher block countertops bring warmth and natural beauty to any kitchen, but without proper finishing, they’re vulnerable to water damage, stains, and bacteria.
So what makes the difference between countertops that last decades and those that fail within months? It all comes down to choosing the right finish and applying it correctly.
Tung oil has earned its reputation as the go-to choice for butcher block applications because it penetrates deep into the wood, resists water naturally, and carries FDA approval for food safety.
In this comprehensive guide, you’ll learn professional techniques for finishing your countertops with tung oil, from initial preparation through long-term maintenance, so your investment remains beautiful and functional for decades.
Why Tung Oil is Ideal for Finishing Butcher Block Countertops
 When choosing a butcher block oil, food safety should be your top priority.
Pure Tung Oil is FDA approved for food contact surfaces, making it ideal for kitchen countertops where you’ll be preparing meals.
Unlike petroleum-based mineral oils or vegetable oils that can go rancid, tung oil is classified as a drying oil that polymerizes and hardens permanently within the wood fibers.
The penetrating nature of tung oil on butcher block sets it apart from surface finishes like polyurethane. Rather than creating a plastic-like coating that can peel or chip, tung oil soaks deep into the wood’s cellular structure, creating protection from the inside out.
This penetration means the finish won’t blister, flake, or show wear patterns like surface coatings do.
Pure Tung Oil is one of the most waterproof, natural drying oils on the market, offering superior moisture resistance compared to other natural options.
Due to the oil’s molecular structure, it cures into a flexible, durable barrier that expands and contracts with the wood through seasonal changes. This flexibility prevents cracking and ensures long-term performance even in demanding kitchen environments.
In addition, cured tung oil creates a smooth, non-porous surface that’s easy to clean and naturally antimicrobial. The finish won’t yellow over time or develop the sticky residue common with some other oil finishes.
Tools and Materials Needed
For a professional butcher block tung oil application, gather these essential materials before beginning:
Don’t underestimate the importance of using the right tools – they can make or break your results. Natural bristle brushes work better than synthetic ones because they won’t shed plastic fibers into your finish.
When mixing, avoid regular plastic cups or containers as citrus solvent can dissolve some types of plastic. Glass or metal mixing containers work best to prevent any issues with your tung oil butcher block mixture.
Preparing Your Countertops for Finishing
Mixing Tung Oil and Citrus Solvent for Application
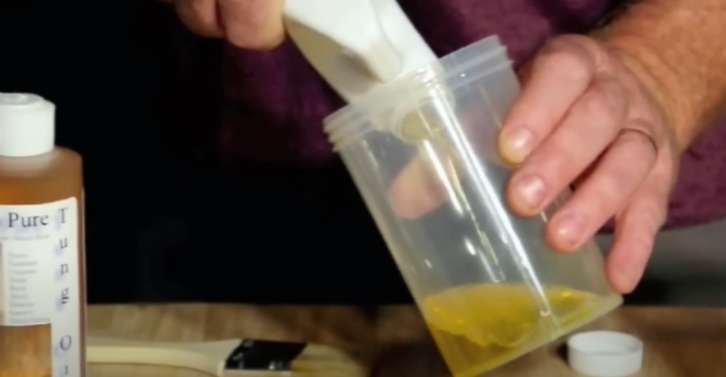 The secret to successful tung oil butcher block finishing lies in proper mixing ratios. Because Pure Tung Oil is a high-solid oil, it does not penetrate dense wood well on its own. We recommend cutting (thinning) the oil with a natural solvent called Citrus Solvent.
The Citrus Solvent is a natural product from the orange juice industry, collected from the peel of the orange. This eco-friendly thinner allows the thick tung oil to flow into wood pores that would otherwise resist penetration.
Mix the Pure Tung Oil and Citrus Solvent one to one or 50/50. This ratio provides optimal penetration while maintaining enough oil content for effective protection.
We also have a pre-thinned version called “Half & Half”. A ready-to-use version, so you do not need to buy separate products. This convenience option eliminates mixing and ensures consistent ratios, particularly helpful for first-time users or small projects.
The mixed solution should flow like light salad dressing – thick enough to carry adequate oil content, but thin enough to penetrate readily.
Suppose your mixture seems too thick for your specific wood species. In that case, you can adjust the ratio slightly, but avoid going below 40% tung oil content, as this reduces the protective qualities of your finish and will require more coats to get a waterproof surface .
Always mix only what you’ll use in a single session. The citrus solvent will begin evaporating from the mixture over time, changing the consistency and penetration characteristics.
Step-by-Step Application Process
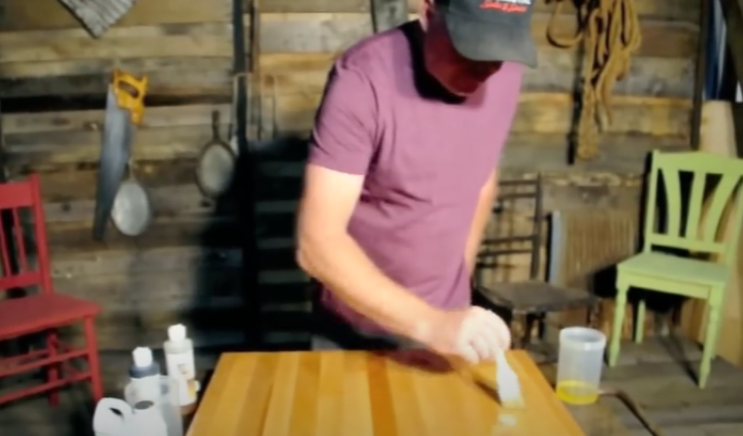
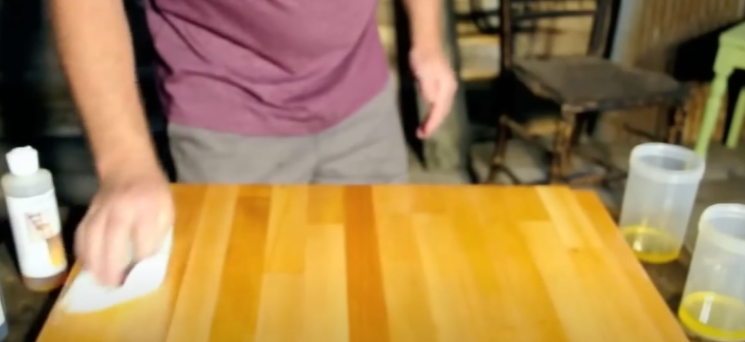
Before following the application steps below, we’d suggest watching RMP Finishes founder Dwayne Siever demonstrate the entire process.
Apply the mixed Tung Oil and Citrus Solvent with a brush over the whole surface. Apply coat after coat and feed the wood cells. Picture a dry sponge. Natural wood has open cells just like a sponge. The sponge is most absorbent when it is dry.
Begin with systematic application, working in manageable sections to maintain control over the process. Load your brush with the tung oil mixture and apply in smooth, even strokes following the grain direction. Don’t worry about brush marks initially – they’ll disappear as the oil penetrates.
The wood will absorb the oil until it is saturated. Feed the wood until it will not accept more. This “feeding” process will give you deep, lasting protection. Watch for areas where the oil disappears quickly into the wood; these hungry spots need additional applications.
Then wait 40 minutes to an hour and look for dry spots. Feed the dry spots. Keep feeding the Pure Tung Oil and Citrus Solvent until the wood stays uniformly glossy. This may take several hours.
During this process, you’ll notice the wood’s changing appetite for oil. Initially, most areas will absorb oil rapidly, creating dry, matte spots within minutes. As the wood becomes saturated, absorption slows, and the surface maintains its wet appearance longer.
Continue applying oil to any area that shows rapid absorption, building up multiple thin coats rather than trying to flood the surface.
When the wood will not take any more and the mixture sits on the surface, now is the time to wipe all excess oil off. Use firm pressure and wipe all standing puddles and loose oil off the surface.
This step requires attention and thoroughness. Excess oil left on the surface will cure into a sticky, uneven finish that attracts dirt and feels unpleasant to touch. Use clean, lint-free rags and apply firm pressure to remove all standing oil.
Work systematically across the entire surface, checking for missed puddles or thick spots. Pay special attention to areas around sink cutouts, edges, and corners where oil tends to accumulate. When properly wiped, the surface should feel slightly oily but not look wet.
You are done for the day.
Second Day Process
Feed the wood again until it puddles. Let the 50/50 mixture sit on the surface to penetrate when it seems no more will absorb, wipe off the excess.
The second application will behave differently from the first. Wood that was extremely thirsty on day one will now accept oil more slowly, requiring patience to achieve full saturation. This is normal and indicates the first application was successful.
Apply the same 50/50 mixture using the same feeding technique, but expect longer intervals between applications. The wood’s reduced appetite means oil will sit on the surface longer before penetrating, allowing you to work larger areas before needing to reapply.
Continue the feed-and-monitor cycle, but don’t be concerned if the wood takes much longer to show dry spots. This gradual saturation builds the deep protection that makes tung oil on a butcher block so effective long-term.
Understanding the Curing Process
While the surface will be usable after a week, full polymerization and hardness occur within 15 to 30 days.
Special Techniques for End Grain Areas
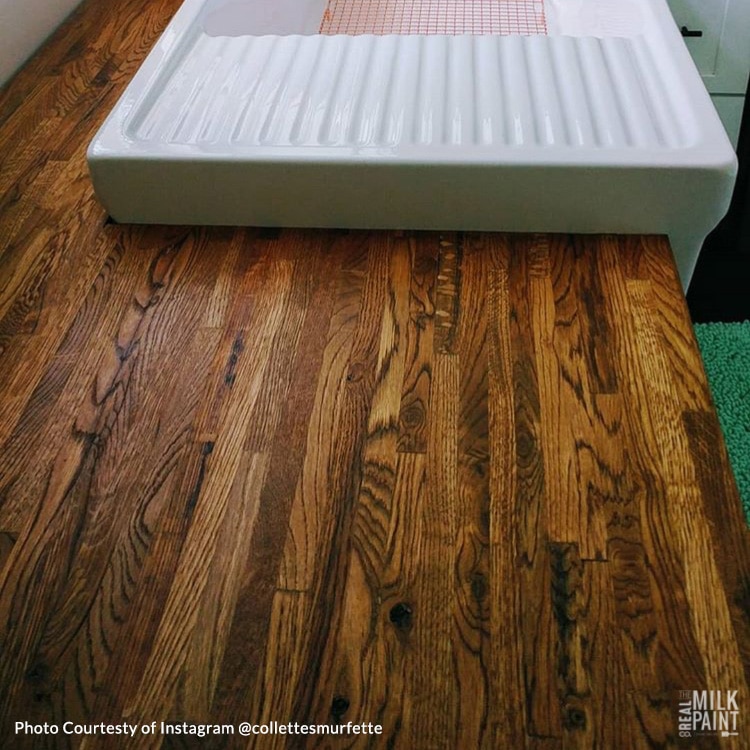
End-grain sections require special attention due to their unique absorption characteristics. If you have an end-grain countertop, you can apply the Pure Tung Oil straight or uncut to these surfaces, especially the exposed end grain of the sink cutout.
Wood end-grain is like a stack of straws on the end, with all the little tubes sticking up. This vivid analogy perfectly describes why end-grain areas are so much more absorbent than face-grain areas. The exposed cellular structure creates direct pathways for oil penetration.
This is very absorbent and will drink up the pure oil. You want to fill up these end-grain tubes full of oil. Use undiluted tung oil for maximum protection in these vulnerable areas. Apply generously and allow full absorption before wiping excess.
Don’t forget other exposed end-grain areas like the edges of islands or peninsula overhangs. These locations see regular contact and benefit from the extra protection of undiluted oil application.
Finishing the Underside
For under-the-counter, you can do one or two coats of 50/50. Two coats are plenty.
Coating the underside helps to even out the absorption of moisture into the wood and slows down expansion and contraction. This moisture equilibrium prevents the warping, cupping, and cracking that can occur when only one side of the wood is sealed.
Apply the 50/50 mixture to the underside using the same feeding technique, but expect faster application since you don’t need the deep saturation required for the working surface. Focus on even coverage rather than maximum penetration.
Work systematically to ensure complete coverage, paying attention to areas around mounting brackets or supports where moisture could accumulate. Allow proper curing time between coats, and wipe excess oil just as thoroughly as you do on the top surface.
The underside finish also makes cleaning easier and prevents bacterial growth in areas that might otherwise trap moisture and food particles.
Long-Term Maintenance of Your Finished Countertops
To maintain the countertop, make a solution of 2 parts Citrus Solvent to 1 part Pure Tung Oil. Apply this real thin with a rag. This maintenance mixture provides just enough oil to refresh the surface without over-saturating the wood.
Do this maintenance coat when you feel the wood is dry and absorbing water from cleaning. Signs that maintenance is needed include water beading less effectively, the surface feeling slightly rough, or a dull appearance compared to the original finish.
Typical maintenance schedules vary based on use intensity:
- Heavy use areas (prep zones): Every 3-4 months
- Moderate use areas: Every 6-8 months
- Light use areas: Annually
Maintenance coats should be allowed to dry for a day or two. Then you can go back to full use again. The thin application and quick turnaround make maintenance convenient without disrupting kitchen activities.
Working with Dark Tung Oil
All of the instructions here also apply to Dark Tung Oil. Our Dark Half is a convenient option that combines the protective benefits of Dark Tung Oil and natural thinners in a single application.
Choose Dark Tung Oil when you want to deepen the natural wood tones while providing the same level of protection as clear tung oil. The dark version is particularly effective on lighter woods like maple or birch, where it creates warm, honey-colored tones that mimic the patina of aged wood.
The application process remains identical to clear tung oil, but slightly different visual cues are expected during application. The dark oil makes it easier to see wet versus dry areas, which can actually help with the feeding process for first-time users.
All are non-toxic and environmentally safe, maintaining the same food-safe properties as clear tung oil. The dark color comes from natural additives that don’t compromise the finish’s safety or performance characteristics.
Safety Considerations
When working with tung oil, a few simple precautions prevent problems:
- Put used rags outside and hang them up to dry before disposing of them in the trash. Oil-soaked rags generate heat as they cure and can spontaneously combust if bundled together
- Open windows and use fans when applying the citrus solvent mixture to prevent vapor buildup
- Wear nitrile gloves if you’re sensitive, though brief contact with tung oil won’t hurt you
- Keep clean rags handy and have mineral spirits available for cleaning tools and hands
- Keep unused oil in original containers, tightly sealed, away from heat and sunlight
Your Countertops Will Thank You
The difference between countertops that last decades and those that fail comes down to patience during that first week. Take your time with the feeding process, let each application soak in completely, and don’t rush the curing timeline.
Your investment in those initial 7-10 days pays off with countertops that actually get better with age. Unlike polyurethane, which chips and peels, tung oil becomes part of the wood itself. The finish stays invisible but incredibly tough.
With proper care and the occasional maintenance coat, your finished surfaces will serve your family safely for generations. The natural properties of tung oil mean your countertops develop character over time while keeping their protective qualities.
Start your project with our complete line of Oils and Solvents. And don’t forget to browse our resource library for more expert guidance on wood finishing techniques.